
Last updated November 21, 2026
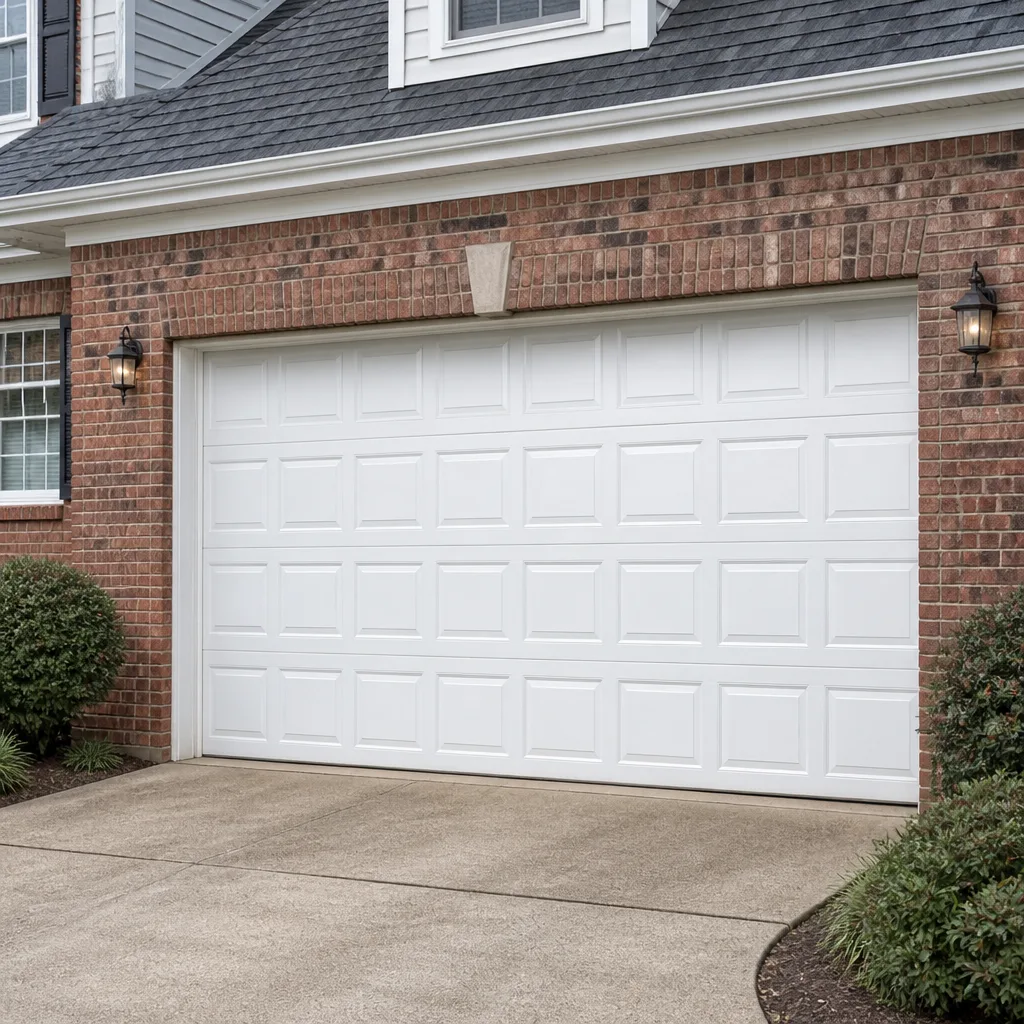 Raised-panel steel
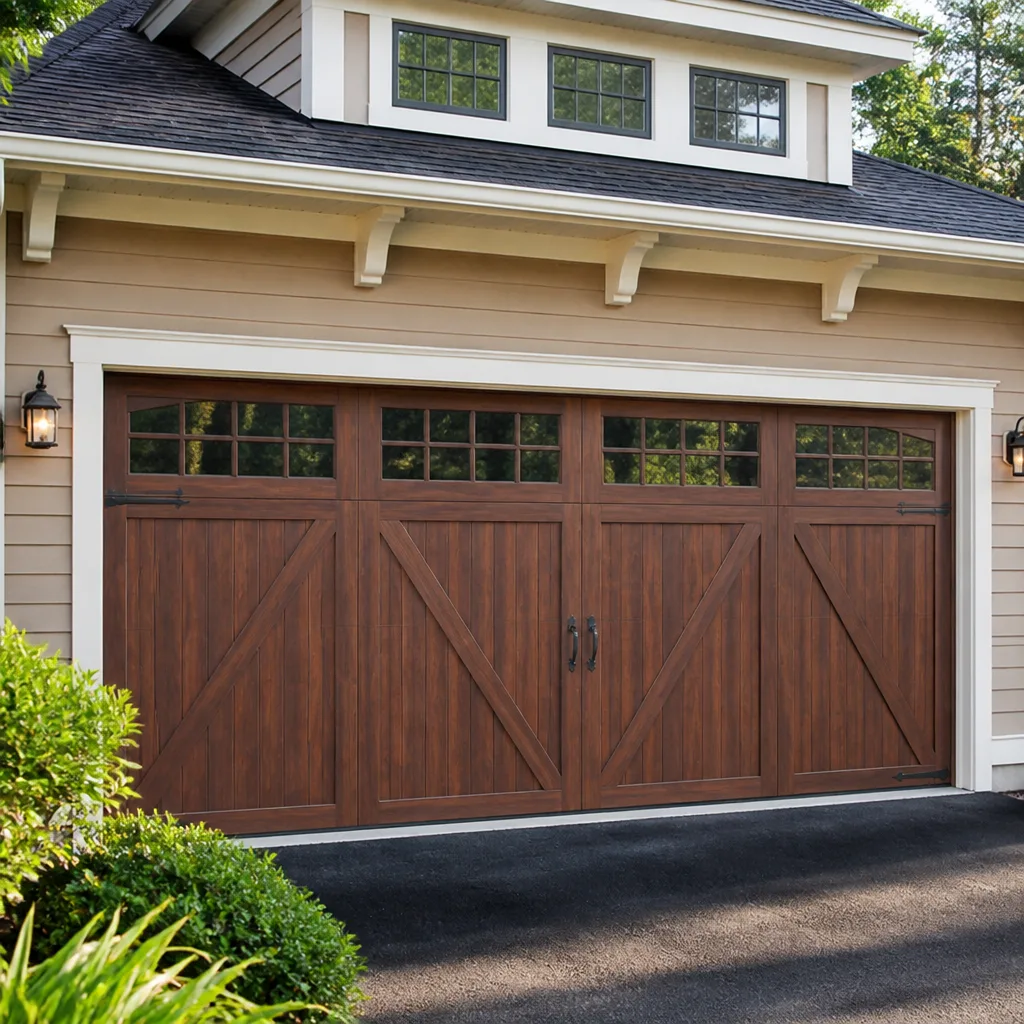 Carriage house
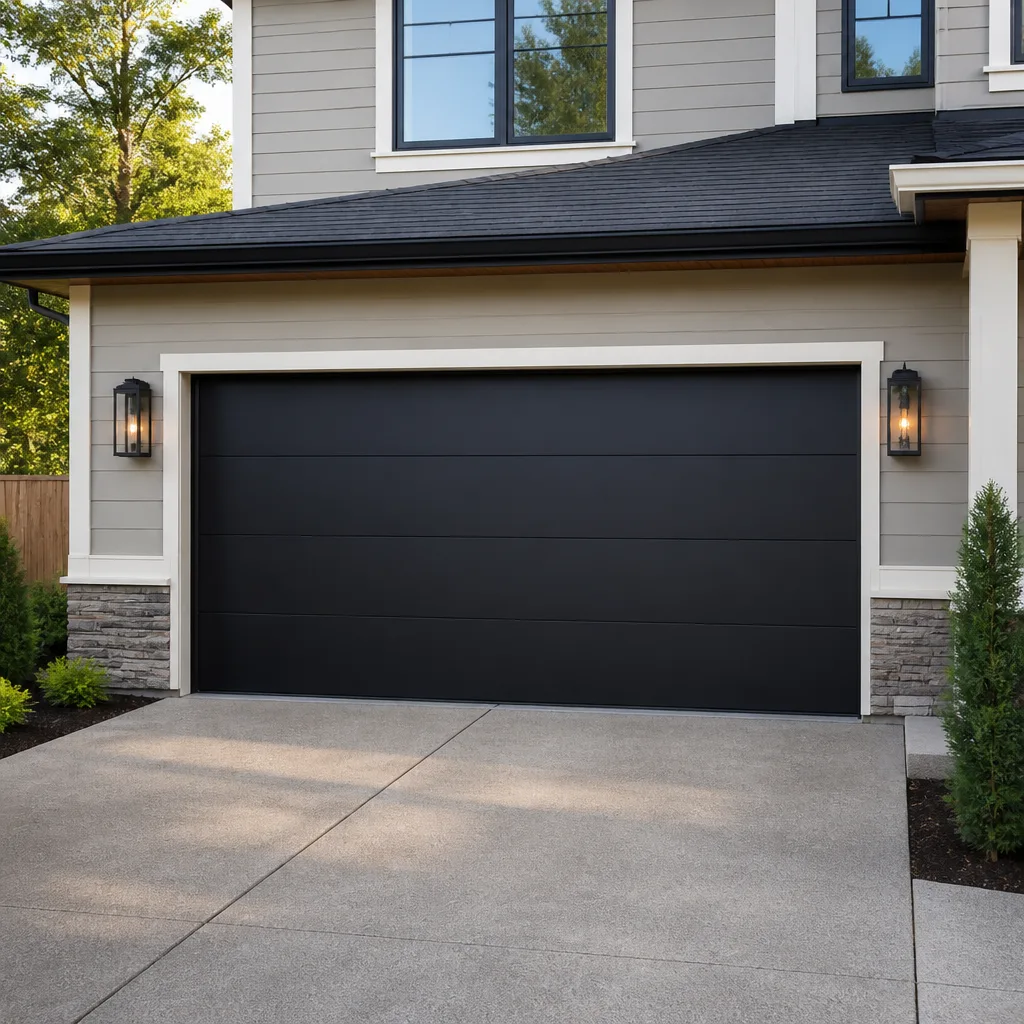 Modern flush
 Full-view glass
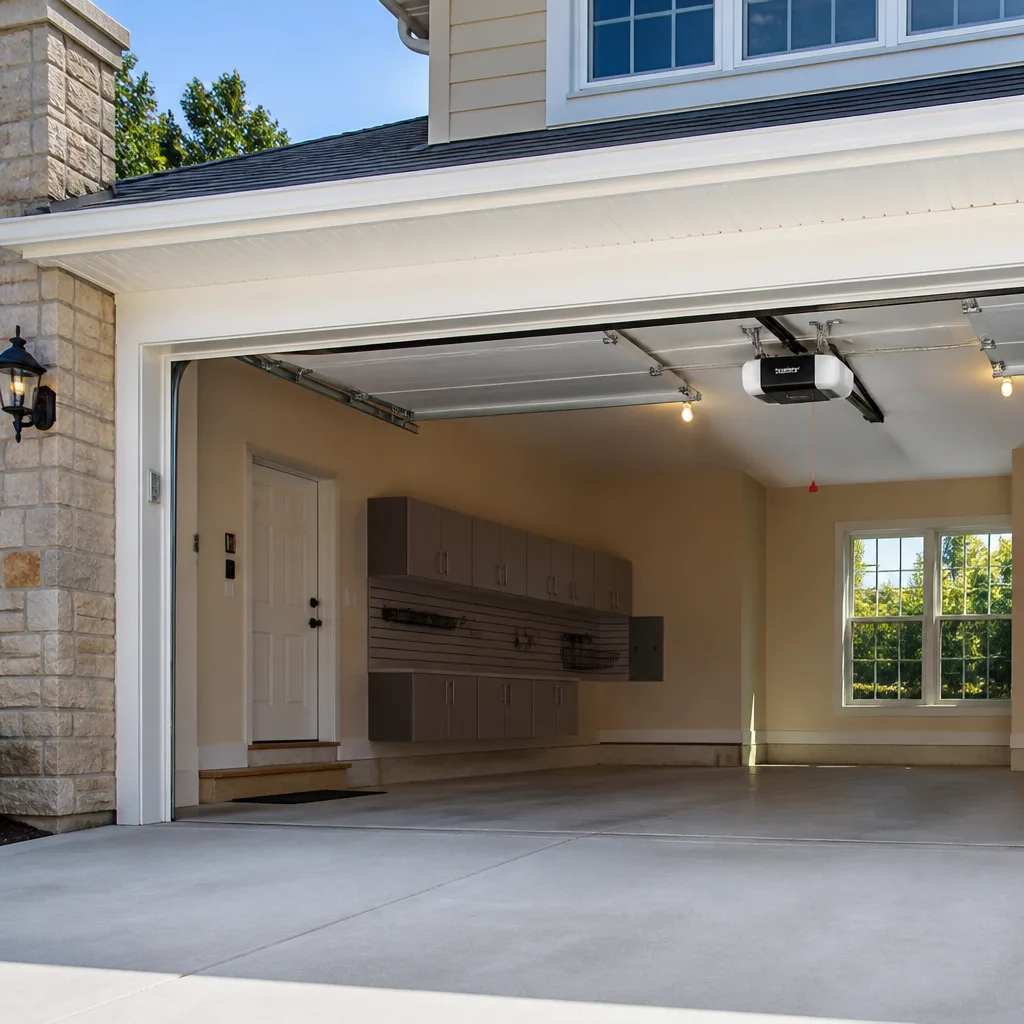 LiftMaster openers
 Chamberlain openers
Full 25-point door and opener safety check with every visit - springs, cables, rollers, tracks, and your LiftMaster or Chamberlain opener included
You get a price before we start. It does not change when the pro arrives.
Get your free estimateGarage Door Repair Maintenance Checklist for Chevy Chase Homeowners
The standard advice to lubricate your garage door twice a year skips the step that matters: knowing whether what you’re lubricating is still safe to run. A torsion spring three cycles from snapping doesn’t need oil. It needs replacement. Most homeowner checklists hand you a can of lubricant and a vague schedule, then leave you to guess whether the faint gap in a coil is normal wear or the last warning before a two-hundred-pound door drops. This guide is different. It tells you what a failing component actually looks like in a Chevy Chase garage, and where the line sits between “watch it” and “stop running the door.”
Quick Answer
A garage door maintenance checklist for Chevy Chase should cover four things every season: the condition of the torsion or extension springs, the balance and travel of the door, the wear on cables, drums, and bottom brackets, and the health of your opener’s trolley and drive system. Visual checks and balance tests are safe for homeowners to do. Anything that means touching a high-tension spring or cable is not – call a trained technician for that. Our technicians have up to 15 years of experience and can inspect the whole system in one visit.
Styles & brands we work with
- Raised-panel steel
- Carriage house
- Modern flush
- Full-view glass
- LiftMaster openers
- Chamberlain openers
Table of Contents
- Why Chevy Chase Garages Wear Differently
- Inspecting Torsion and Extension Springs
- The Balance Test and Door Travel
- Cable Drums and Bottom Brackets
- Testing Your Opener’s Trolley and Drive System
- Weatherseal and Threshold Checks for Semi-Recessed Garages
- Safety Reversal and Photo-Eye Testing
- A Seasonal Schedule That Works Here
Why Chevy Chase Garages Wear Differently
Chevy Chase sits in a part of DC where the temperature swings hard between summer and winter, and that swing stress shows up directly in garage door hardware. Springs expand in July heat and contract through January cold. Every one of those cycles bends the metal a little, and after enough of them the coil steel fatigues. A door that ran quietly through a mild spring can start groaning by the first hard freeze. That’s not imagination. It’s the metal telling you it has cycled a lot.
The housing stock matters too. Chevy Chase has a large share of older homes with semi-recessed or below-grade garages – door openings set back into a slope or tucked under living space. Those garages trap damp air against the door face and threshold, and they don’t dry out the way a freestanding garage does. Weatherstripping and bottom seals degrade faster there, and moisture creeps into the bottom bracket and lower panel hardware. A checklist written for a sunny suburban garage misses this entirely.
Door configurations vary widely here as well. You’ll find classic wood panel doors, steel Clopay and Amarr doors, and a range of aluminum and glass units on newer builds. Each one wears at slightly different points. What they share is the same basic mechanism underneath: springs carrying the weight, cables holding the tension, drums winding the cable, and an opener pulling it all through its travel. The checklist below follows that mechanism from the most dangerous part to the least.
One thing worth internalizing before you start: the order matters. Springs are checked from a safe distance with the door closed. Cables and brackets are inspected without touching them. The opener and seals can be tested with your hands. Keep that progression in mind and you’ll never be reaching toward hardware that can hurt you.
Inspecting Torsion and Extension Springs
Torsion springs mount on a horizontal shaft above the door. Extension springs run along the tracks on either side. Both store enough energy to cause serious injury if they fail while you’re near them, so this section is strictly a look-and-assess check. Do it with the door fully closed and your hands off the hardware.
Here’s what to look for on a torsion spring, and where each sign falls on the monitor-versus-call spectrum:
- An open gap in the coil. A clean break has already happened – one side of the spring will show an obvious separation. That’s a stop-immediately situation. Call us; the door is now being held by cables and gravity alone.
- Coil deformation. Uneven, squashed, or flattened coils on a spring that hasn’t broken yet indicate fatigue. This is a schedule-replacement sign, not an emergency, but don’t wait long.
- Corrosion bands. Rust streaking in rings around the coil usually follows winter moisture and road film tracked in from the alley or driveway. Light surface rust is normal. Deep pitting at the coil edges is where a break starts.
- Color-code paint. The painted end of a torsion spring indicates its wire gauge and lift capacity. If that paint is worn off completely, a technician needs to measure and match the spring rather than guess. Mismatched springs are a common cause of early failure.
On extension springs, look for stretched or deformed coils and check whether the safety cables running through the center of each spring are still intact. If a cable is frayed or rusty, the spring needs attention soon. A spring that breaks without a safety cable inside it becomes a projectile – that’s the reason the cable exists.
The go/no-go line: Broken spring, door won’t lift, or a visible gap in the coil – call immediately and stop operating the door. Deformation, rust bands, or faded paint – book an inspection. Chevy Chase freeze-thaw makes the failure rate creep up through winter, so a spring that looked fine in October deserves a second look by February. Never attempt to adjust, wind, or unwind a torsion spring yourself. That work takes specific winding bars and training, and no amount of online instruction makes it safe.
The Balance Test and Door Travel
A balanced door should stay put roughly halfway open, held by its springs and not by the opener. If it drifts down when you let go, the springs are losing their lift. If it flies up, the tension is too high. This test is safe to run yourself – you’re pulling a release cord, not touching tension hardware.
- Close the door, then pull the emergency release cord on your opener to disconnect the trolley from the door.
- Lift the door by hand to about waist height and stop.
- Let go and watch. A door that stays put is balanced. A door that drifts down a few inches and settles is acceptable. A door that slides all the way down or shoots upward is out of balance.
- Reconnect the emergency release by running the opener once, so the trolley re-engages.
Also watch the travel. Stand back and run the door up and down. It should move smoothly with no jerking, no grinding, and no scraping at the tracks. Look where the door meets the frame – if one side rises faster than the other, the door is binding and the cables may be winding unevenly. A door that pulls to one side will eventually wear through the roller brackets.
Out-of-balance is a monitor-or-fix-soon call, not a stop-everything call. But leave it too long and the opener ends up doing work the springs should have done, which shortens the life of the drive gear and motor. If the imbalance is new and sudden, or if it’s accompanied by any sound of metal binding, call us to check the springs and cables together.
Cable Drums and Bottom Brackets
The lift cables run from the bottom brackets up through the drums at each end of the spring shaft. Cables sit under enormous tension and, unlike springs, they fail with very little warning. You can inspect them, but keep every part of your body clear of the cable line.
Check these points with the door closed:
- Cable condition. Frayed strands, kinks, or a cable that’s jumped its drum is a call-us-now sign. Don’t run the door.
- Drum seating. Each cable should be wound neatly within its drum. A cable spilling off the drum edge means it’s out of its groove and dangerous to operate.
- Bottom bracket hardware. This is the bracket at the very bottom corner of the door where the cable attaches. It’s under full cable tension. Look for looseness, rust-through, or a bracket pulling away from the door panel. If any of that’s present, stop using the door.
- Roller wear. Rollers should turn freely and sit snugly in their hinges. A roller that’s flat-spotted or missing its bearing is a cheap fix that prevents a lot of noise and track wear.
What homeowners should not do is loosen, adjust, or put a wrench near the bottom bracket or the cable. When you loosen that bracket, the full stored tension of the spring releases through the cable at once. Trained technicians use winding bars and specific procedures for this for a reason. Roller replacement is a reasonable homeowner job on most doors. Bracket work belongs to someone who does it every week.
Testing Your Opener’s Trolley and Drive System
The most common opener failure in Chevy Chase isn’t a dead motor – it’s a worn trolley carriage or a stripped drive gear. Openers like the LiftMaster 8365 and the Chamberlain B970 use a trolley that rides the rail and engages the door arm. That carriage has a plastic gear that wears down over years of use. When it strips, the motor runs and the door doesn’t move. That’s the classic symptom. But you can often catch it before it fails completely.
Run this test with the door connected and the opener engaged:
- Stand back and run the door up, watching the carriage. It should move evenly along the rail. Any slip, lurch, or pause while the motor keeps running points to a worn carriage gear or drive worm.
- Listen for a grinding or buzzing sound that doesn’t match the door’s movement. Grinding with no movement is the gear. A buzzing that starts and stops suggests a capacitor or start issue.
- Look at the drive belt or chain tension. A belt-driven opener should have slight slack but not sag. A loose belt makes noise and can slip under load.
- Check the wall control and remotes. If the door operates from the wall but not the remote, the problem is the remote, receiver, or batteries – not the opener itself.
Repair-first matters here. A worn trolley gear on a Genie or a stripped drive worm on a Craftsman can often be replaced on the existing unit rather than swapped out for a whole new opener. We run garage door opener repair as a diagnosis-first service for this reason. When you’re weighing whether to repair or replace, an honest assessment usually saves you money.
Weatherseal and Threshold Checks for Semi-Recessed Garages
Weather seals are the least glamorous part of the checklist and the one that matters most in Chevy Chase’s below-grade and semi-recessed garages. A garage cut into a slope or set under living space holds damp air and gets less airflow. Seals that fail let that moisture straight in.
Run this check on the door and frame:
- Look at the bottom seal along the floor. It should compress to the concrete, making contact all the way across. Gaps at the corners are where water and cold air get in.
- Check the threshold and floor for standing water or dark staining. A damp threshold after a storm points to a worn bottom seal combined with poor drainage, and both matter in older Chevy Chase homes.
- Run your hand around the vertical and horizontal perimeter seals. Anywhere you feel a draft on a cold day is a seal that’s shrunk, cracked, or pulled from its track. Wood and steel door frames shift with freeze-thaw, and the seals need to move with them.
- Look at the weatherstrip where the door meets a brick opening. Brick and steel doors expand and contract at different rates, and the seam is often the first place a seal fails.
- Inspect the bottom panel for bubbling paint or rust streaks. That’s moisture wicking up from the threshold and into the door itself.
Weatherseal replacement is usually a homeowner-friendly job for the bottom seal and the perimeter strips. If the threshold itself is holding water, if the bottom panel is rusting through, or if the door has started to swell at its base, that goes on the technician list. On a below-grade garage, sealing the door face is only half the job – you also want to check that the garage floor slopes toward the door, not away from it. Our garage door repair visits include a look at the door-threshold interface for this exact reason.
Safety Reversal and Photo-Eye Testing
Every garage door opener has a safety reversal system that must work. This is a quick test you should run twice a year, and it’s one of the highest-value checks on the whole list.
Photo-eye test: With the door open, wave an object through the light beam at the base of the door. The opener should stop and reverse. If it doesn’t, don’t operate the door until it’s fixed. A dead or misaligned photo-eye means the door won’t reverse on a small obstacle – which is a serious risk to anyone in the door’s path.
Force reversal test: Lay a two-by-four flat on the floor directly under the open door and close the door. It should strike the board and reverse. If the door pushes down and stops on the board, the force limit is set too high.
Manual release test: With the door closed, pull the emergency release cord and confirm the door moves freely by hand. A door that won’t release is unsafe in a power failure.
Aligning a photo-eye is usually safe to do yourself – it’s just a matter of aiming the two sensors back at each other. If the door won’t reverse after that, or if force limits need adjusting, call us. A safety system that fails during your test is a go call, not a monitor call.
A Seasonal Schedule That Works Here
Rather than a strict twice-a-year schedule, match your checks to the DC climate. Some items are worth more in one season than another, and spacing them out keeps each inspection focused.
- Early spring (after the heating months). Full visual on springs for corrosion and coil deformation, plus a check on the bottom seal and threshold after winter moisture. This is when rust bands and seal wear show most clearly.
- Late spring. Run the balance test and photo-eye test. Lubricate hinges, rollers, and the track with a damp-rated, non-greasy lubricant (not a heavy grease that will collect grit).
- Early fall (before the cold). Test the opener’s trolley and drive. Run the balance and travel check again. Check perimeter seals against drafts, because cold gets in fast once they open up.
- Late fall. Inspect cables, drums, and bottom brackets closely before the freeze-thaw cycle starts. Tighten loose fasteners on the tracks and brackets by hand. This is your best window to catch a wear issue before it becomes a winter failure.
Two seasonal checks a year is a reasonable baseline for a Chevy Chase garage, but some homes need more. Older doors on heavy wood panels, semi-recessed garages, and any door with a spring that has already lasted through several winters may need an inspection each season. If your door has ever had a spring replaced, note when it was done – spring life is measured in cycles, not years on a calendar. We work on the brand you already have, whether that’s a Clopay or Amarr door or a Wayne Dalton unit in an older build, so a full inspection can cover everything at once.
Common Mistakes to Avoid
- Lubricating a spring that needs replacing. Oil on a fatigued coil can make you overlook the deformation. Check condition before you lubricate, every time.
- Greasing the tracks. Rollers should be lubricated, but greasing the track itself attracts grit and makes the door bind. Keep the tracks clean and dry instead.
- Winding or adjusting a spring “just a little.” There’s no safe way to touch a torsion spring without the correct winding bars and training. A partial adjustment is still a high-tension job.
- Ignoring a door that’s out of balance because the opener still lifts it. The opener is now doing the spring’s work, and that wears the drive gear out faster. Fix the balance, not the symptom.
- Assuming a “dead” opener needs replacing. Most opener failures are the trolley carriage, drive gear, or a component like a capacitor – all repairable on the existing unit. Get a diagnosis first.
- Skipping the photo-eye test in damp weather. Chevy Chase moisture can fog or misalign the sensors. Test it whenever the seasons change.
- Assuming a below-grade garage is just “damp by design.” Trapped moisture usually traces to a failed bottom seal and a floor that drains the wrong way. Both are fixable.
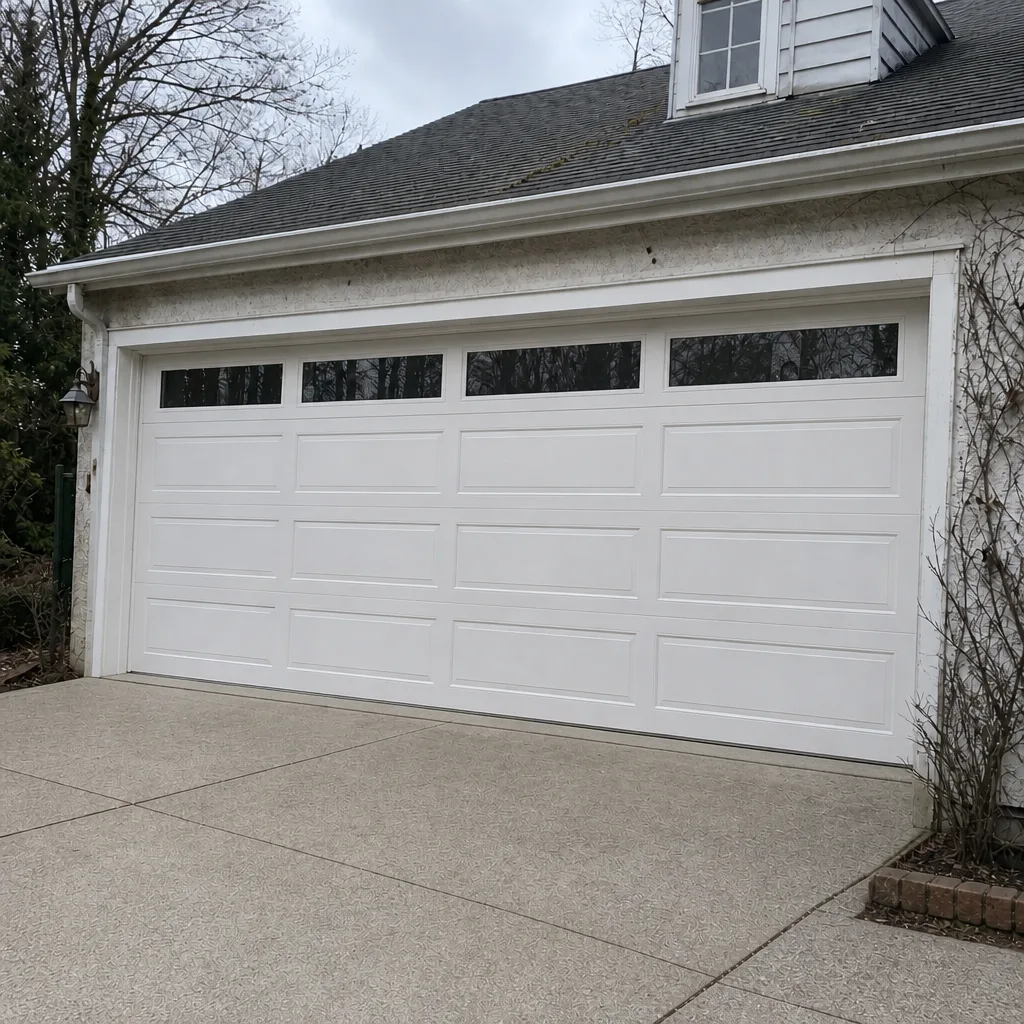
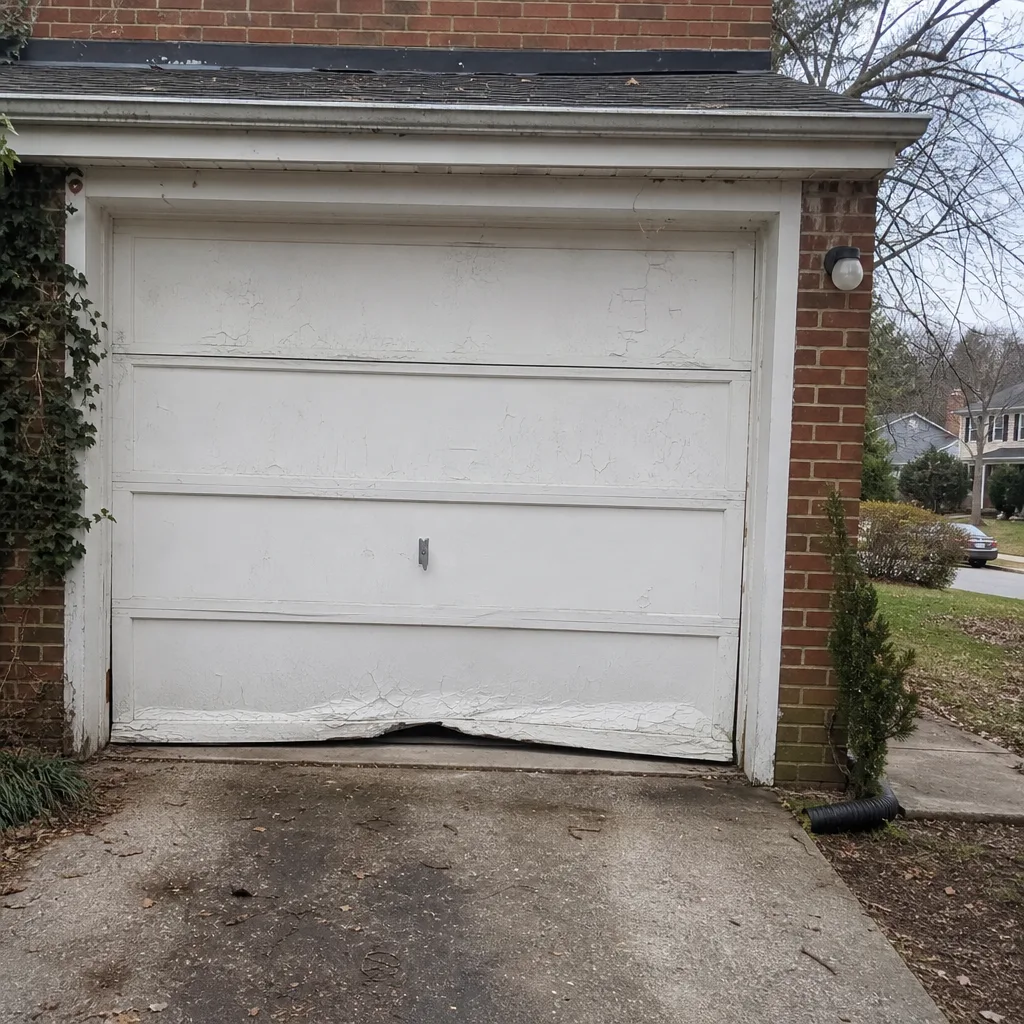
See the difference
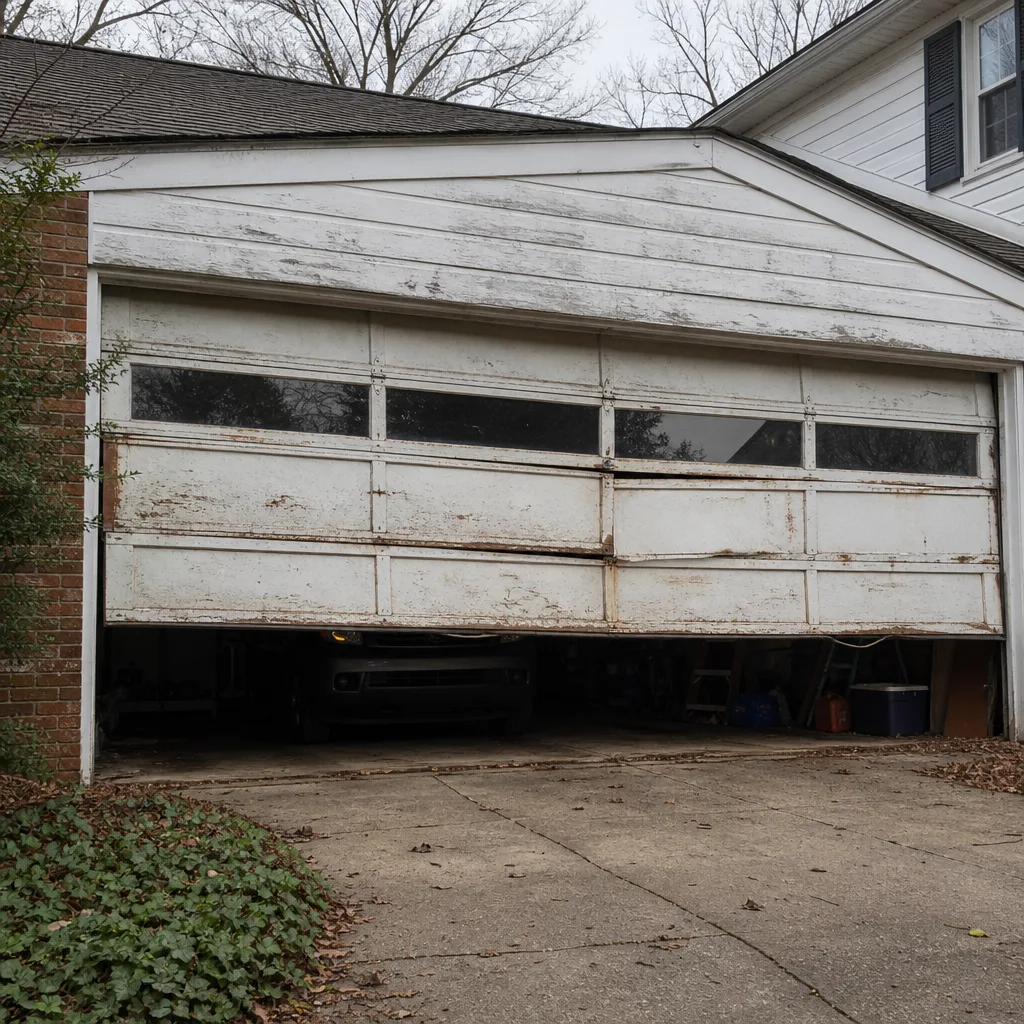 Before
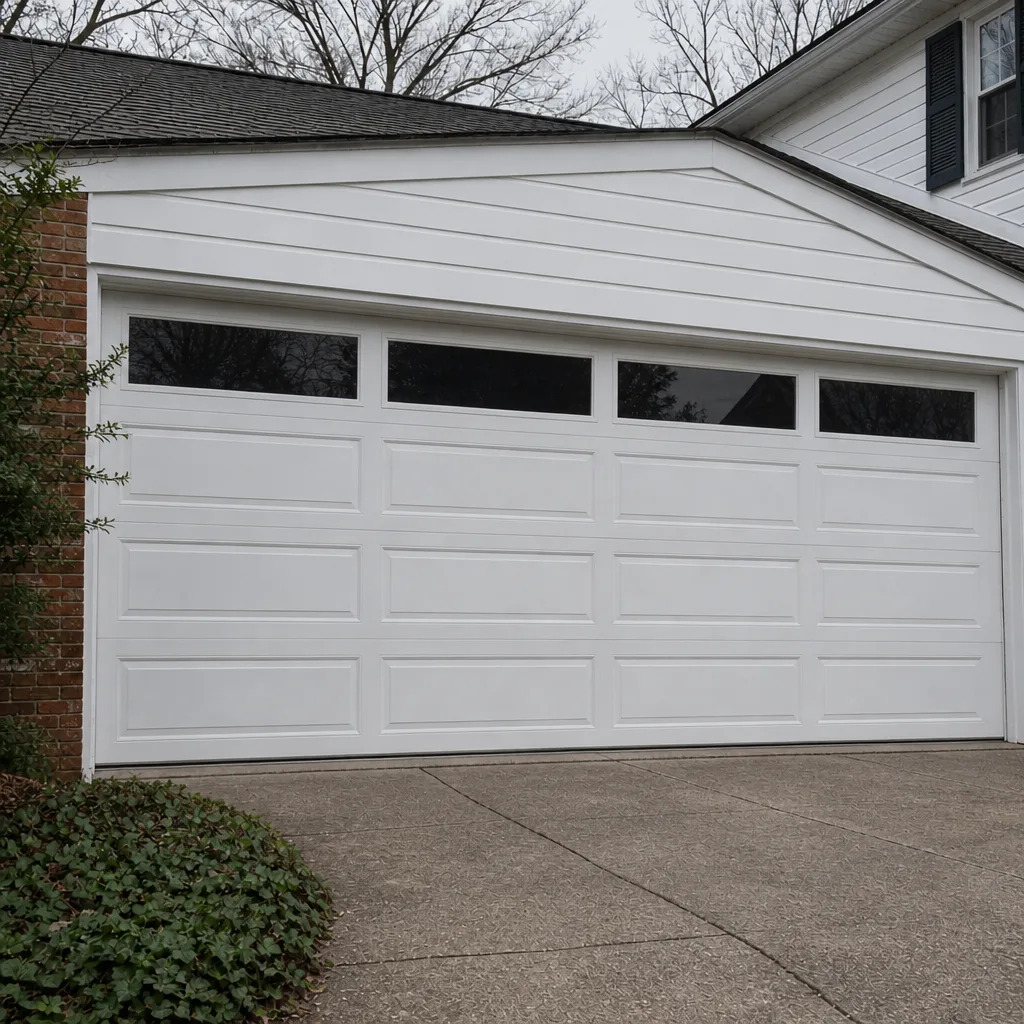 After
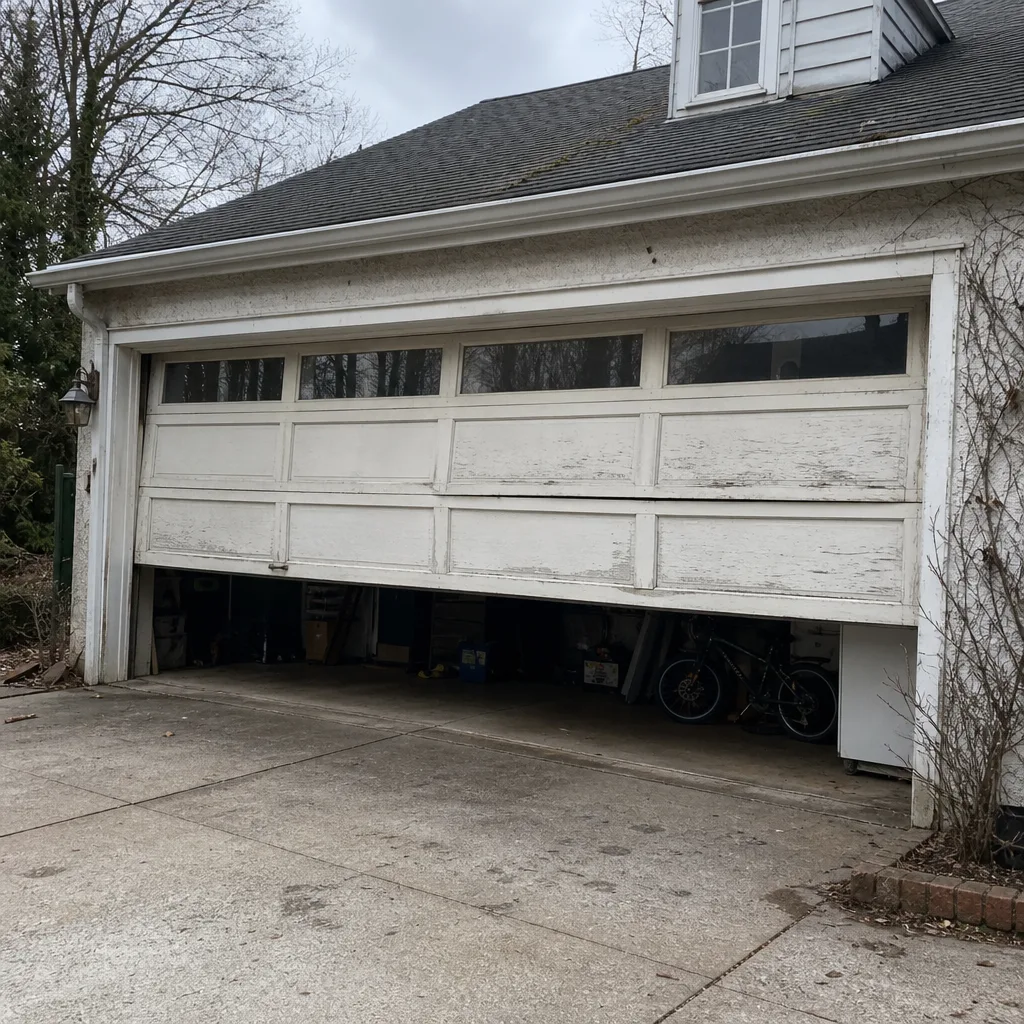 Before
 After
 Before
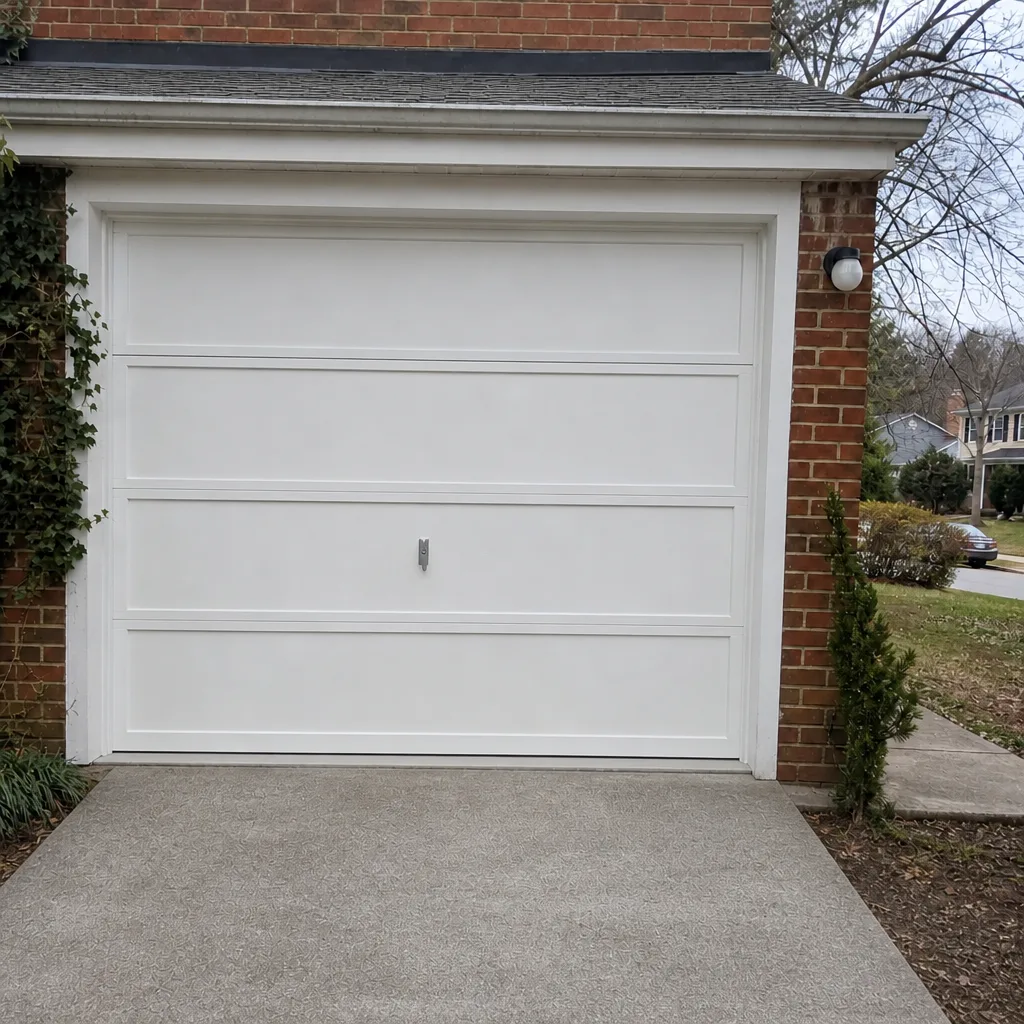 After
When to Call a Professional
Some of these checks belong on your calendar. Some belong on a technician’s. Stop operating the door and call the moment you see a broken spring, a frayed or jumped cable, a cracked bottom bracket, or a door that won’t reverse on a small obstacle. Those are the situations where the door can fail or fall. Reach out for a scheduled visit when springs show deformation, the door is out of balance, the opener grinds before the door moves, or a semi-recessed garage is holding moisture. Anything that means touching high-tension hardware – spring replacement, cable work, drum adjustment, bracket replacement – needs a trained technician with the right tools and training, full stop.
If you’re buying a new door rather than repairing an existing one, that’s the time to talk through garage door installation with a proper measure and a written price. Chevy Chase Garage Door Repair offers free estimates in Chevy Chase – call (855) 684-8076 for an exact quote.
Frequently Asked Questions
Run the visual and safety checks twice a year, once in spring after the heating months and once in fall before the freeze. Chevy Chase’s temperature swings stress springs and seals more than a mild climate does, so seasonal timing matters more here than a simple twice-a-year count. If your door is older or sits in a below-grade garage, a third inspection through winter is worth the call. Call (855) 684-8076 for a full inspection – estimates are free.
A failing torsion spring shows uneven or squashed coils, a rust band around the coil, or faded color-code paint at the end. A clean gap in the coil means it has already broken. Those are the two different situations – deformation calls for scheduling, a break calls for stopping use of the door. Call (855) 684-8076 for a same-visit assessment; estimates are free.
You can safely wipe a torsional spring lightly with a damp-rated lubricant, but only after a technician has confirmed it’s still sound. The step that matters is knowing whether the spring is fit to run at all – oil can’t fix fatigue. If you’re unsure about the spring’s condition, call (855) 684-8076 for an inspection first; estimates are free.
An opener that runs while the door stays put usually means the trolley carriage or drive gear has stripped. On common units like the LiftMaster 8365 or Chamberlain B970, that’s the carriage gear wearing down. It’s often repairable on the existing opener rather than a reason to replace the whole unit. Call (855) 684-8076 for a diagnosis; estimates are free.
The photo-eye sensors are working if the door stops and reverses when you wave an object through the beam at the base of the door. If it doesn’t reverse, don’t run the door until it’s fixed. Sometimes alignment is all it needs; if it won’t reverse after re-aiming, call (855) 684-8076 and estimates are free.
A damp garage is most likely a failed bottom seal or perimeter weatherstripping, especially in semi-recessed or below-grade garages. Seals degrade faster in Chevy Chase’s wet, freeze-thaw climate. If the threshold itself is holding water, that may also point to the floor sloping the wrong way. Call (855) 684-8076 and an estimate is free.
The Bottom Line
A maintenance checklist is only as good as its ability to tell you when a component has crossed out of the monitor zone and into the call-now zone. Keep the order intact – springs first (from a distance), balance and travel second, cables and brackets third (without touching them), opener and seals fourth. Lubricate the parts you can reach, test the safety reversal twice a year, and treat any gap, fray, or non-reversal as an immediate stop. Our technicians have up to 15 years of experience across the brands you’ll actually find in Chevy Chase garages – LiftMaster, Chamberlain, Genie, Clopay, Amarr, Wayne Dalton, Craftsman, and Raynor. We repair first and replace only when a repair won’t hold. Call (855) 684-8076 – we answer 24/7, dispatch from 7am to 7pm Sunday through Friday, and estimates are free. The written quote sets the price before any work begins. For the bigger picture on our work, see Chevy Chase Garage Door Repair.
Written by the team at Chevy Chase Garage Door Repair.